

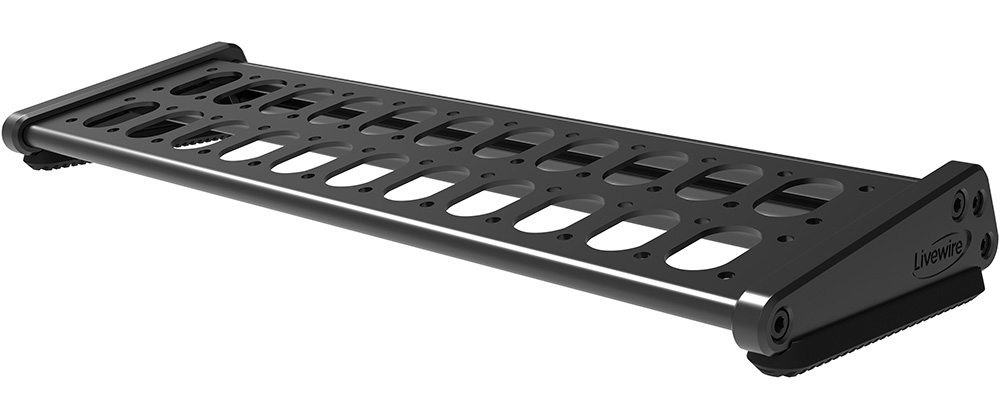
STUDIO PB200
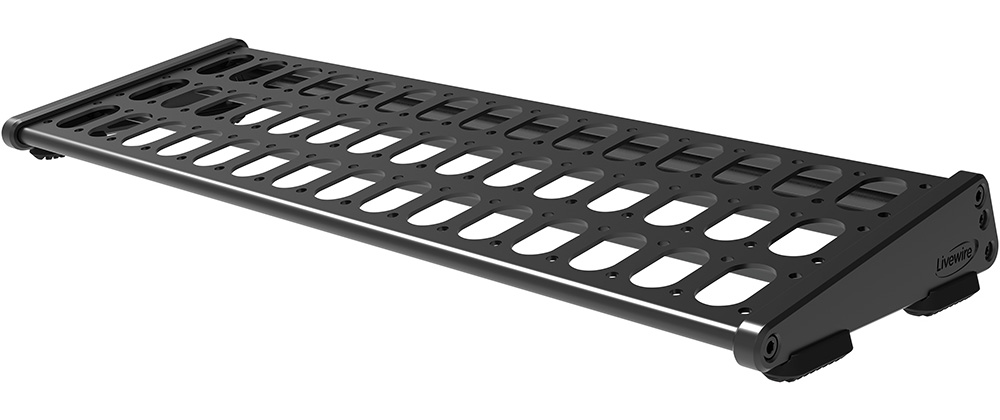
CLUB PB300
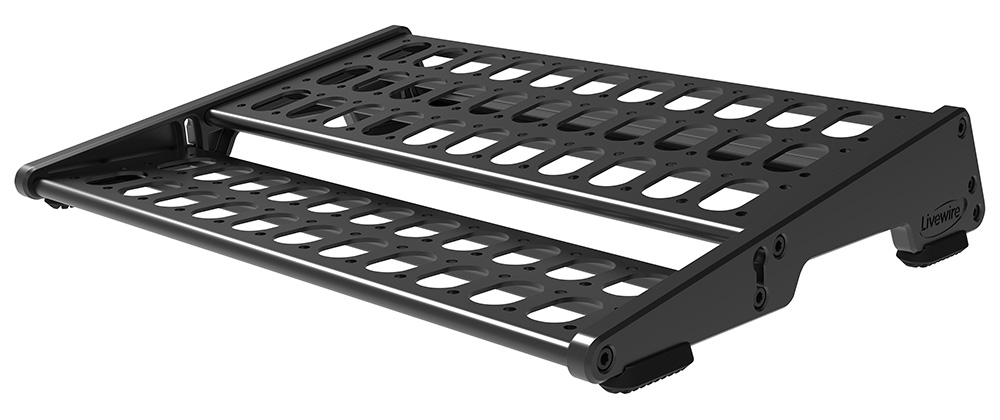
TOUR PB400
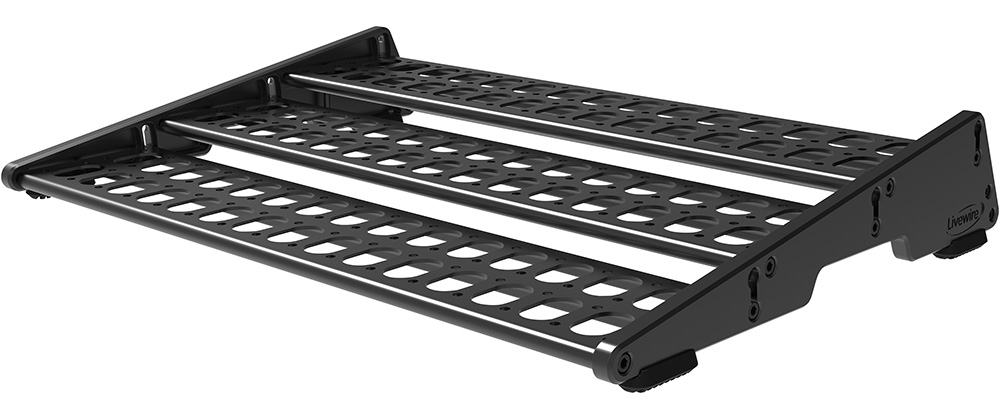
ARENA PB500
USER GUIDE

The design of the Livewire Pedalboards allows you to use a number of attachment styles, such as cable ties, hook-and-loop, or even hard mount, as well as route all your cables under the board for a clean no-clutter setup.
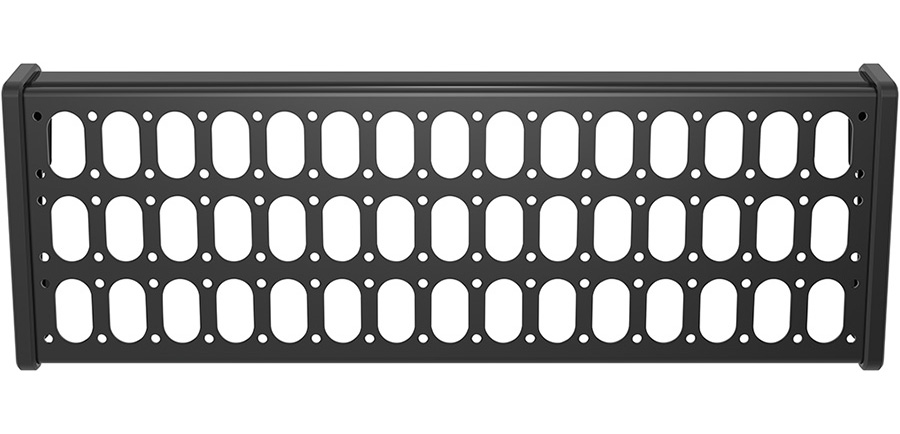
PEDAL ATTACHMENT OPTIONS

Cable Ties: The small round holes are designed primarily for cable ties as they are the preferred way to attach pedals and controllers. They hold everything in place exceptionally well, don’t leave any residue, and are super easy to clip off and start again when you get new gear. Using the small, round holes prevent them from moving around.
Hook-and-Loop: If you prefer, you can still use this tried and true method without issue — just leave room for cables.
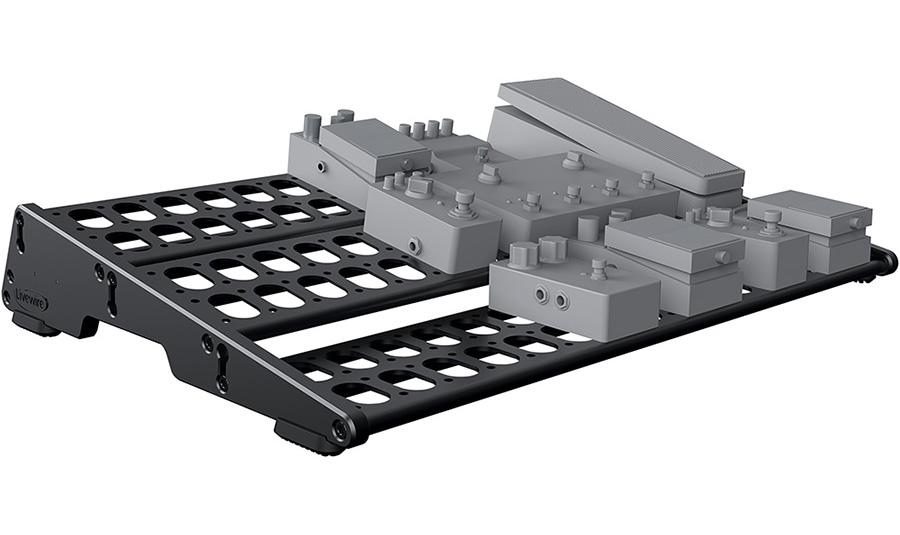
Hard Mounting: There are a few options here. You can use the holes if they align, or you can easily drill holes that match up to your gear. Not the most flexible, but super secure with no rust issues.
Cables: All of those larger longer slot holes are for your cables to be routed to the underside. Once you have your gear all setup for your needs, then use cable ties to tidy everything up.
POWER

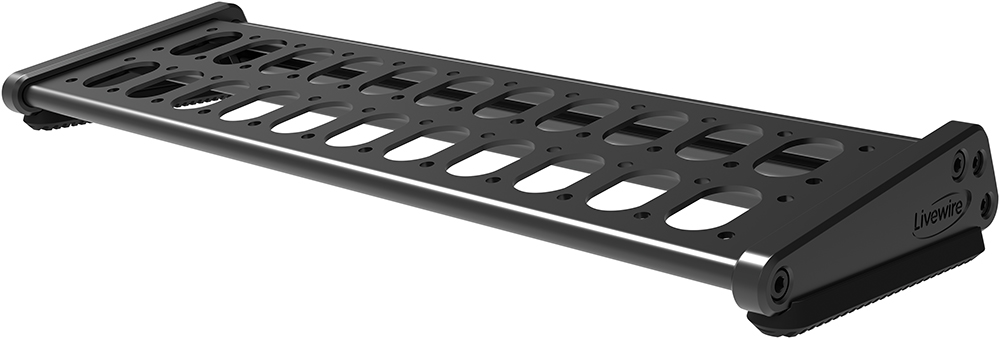
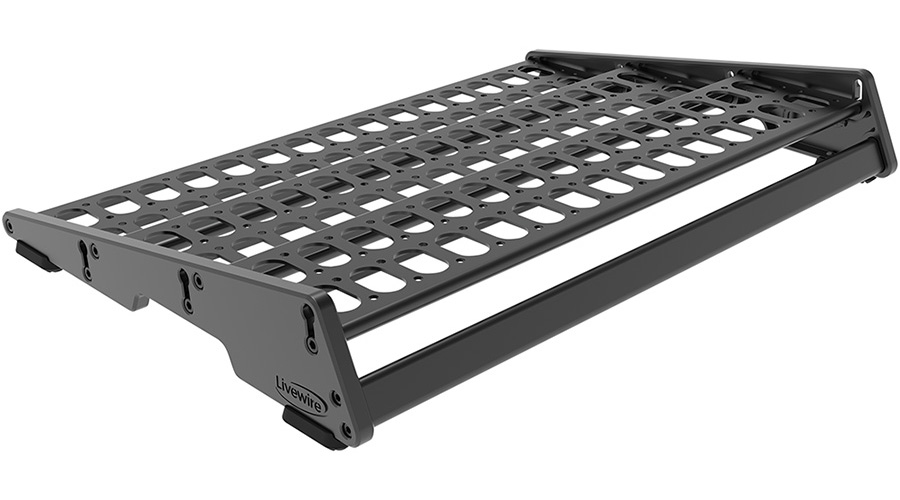
The Arena and Tour models have room underneath for most power bricks. Using cable ties, it is a great location to tuck them away and keep everything together.
The Club and Studio models, while smaller, still have an option for you. The back bar can be used to attach a power brick.
ERGONOMICS
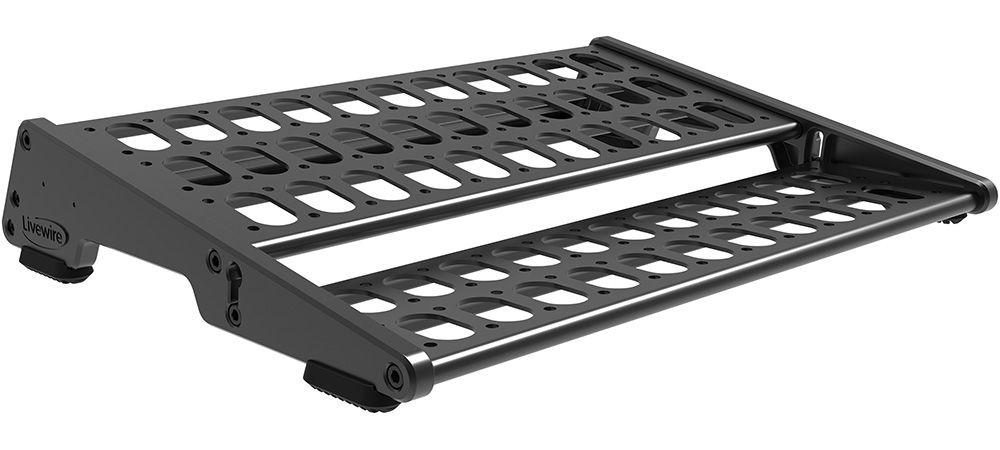
The Arena has three tilt-able tiers while the Tour includes one. The tiers can be adjusted to tilt up 15 degrees or flat. By making them flat, the pedals edge is raised up above the pedal in front of it, making it super easy to control. Mix and match angles for pedals, wahs, and effects to get the most ergonomic setup for your playing style.

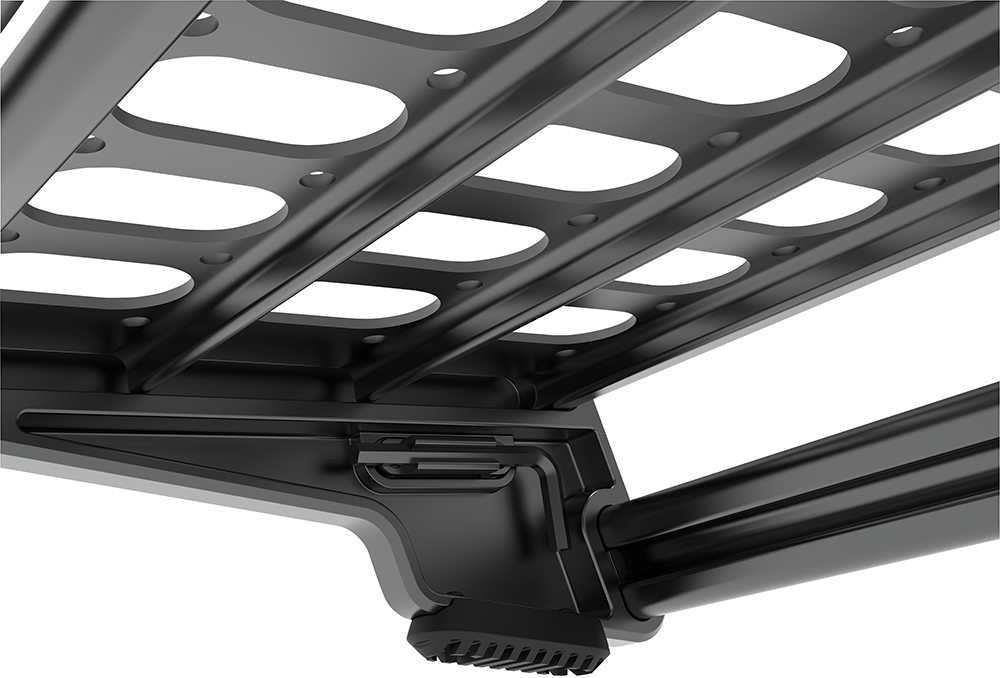
HOW TO ADJUST THE TILTABLE TIERS

1. Grab the hex key from underneath the stand. and loosen the bolt one full turn on both sides of the platform you are adjusting.
2. Loosen the bolts so the heads of the bolts protrude from the side plates on each side of pedalboard. Do not remove them.
3. Choose the angle of the tier: flat or 15 degrees.
4. Tighten all four bolts, but do not over tighten, snug will be enough.
2. Loosen the bolts so the heads of the bolts protrude from the side plates on each side of pedalboard. Do not remove them.
3. Choose the angle of the tier: flat or 15 degrees.
4. Tighten all four bolts, but do not over tighten, snug will be enough.
